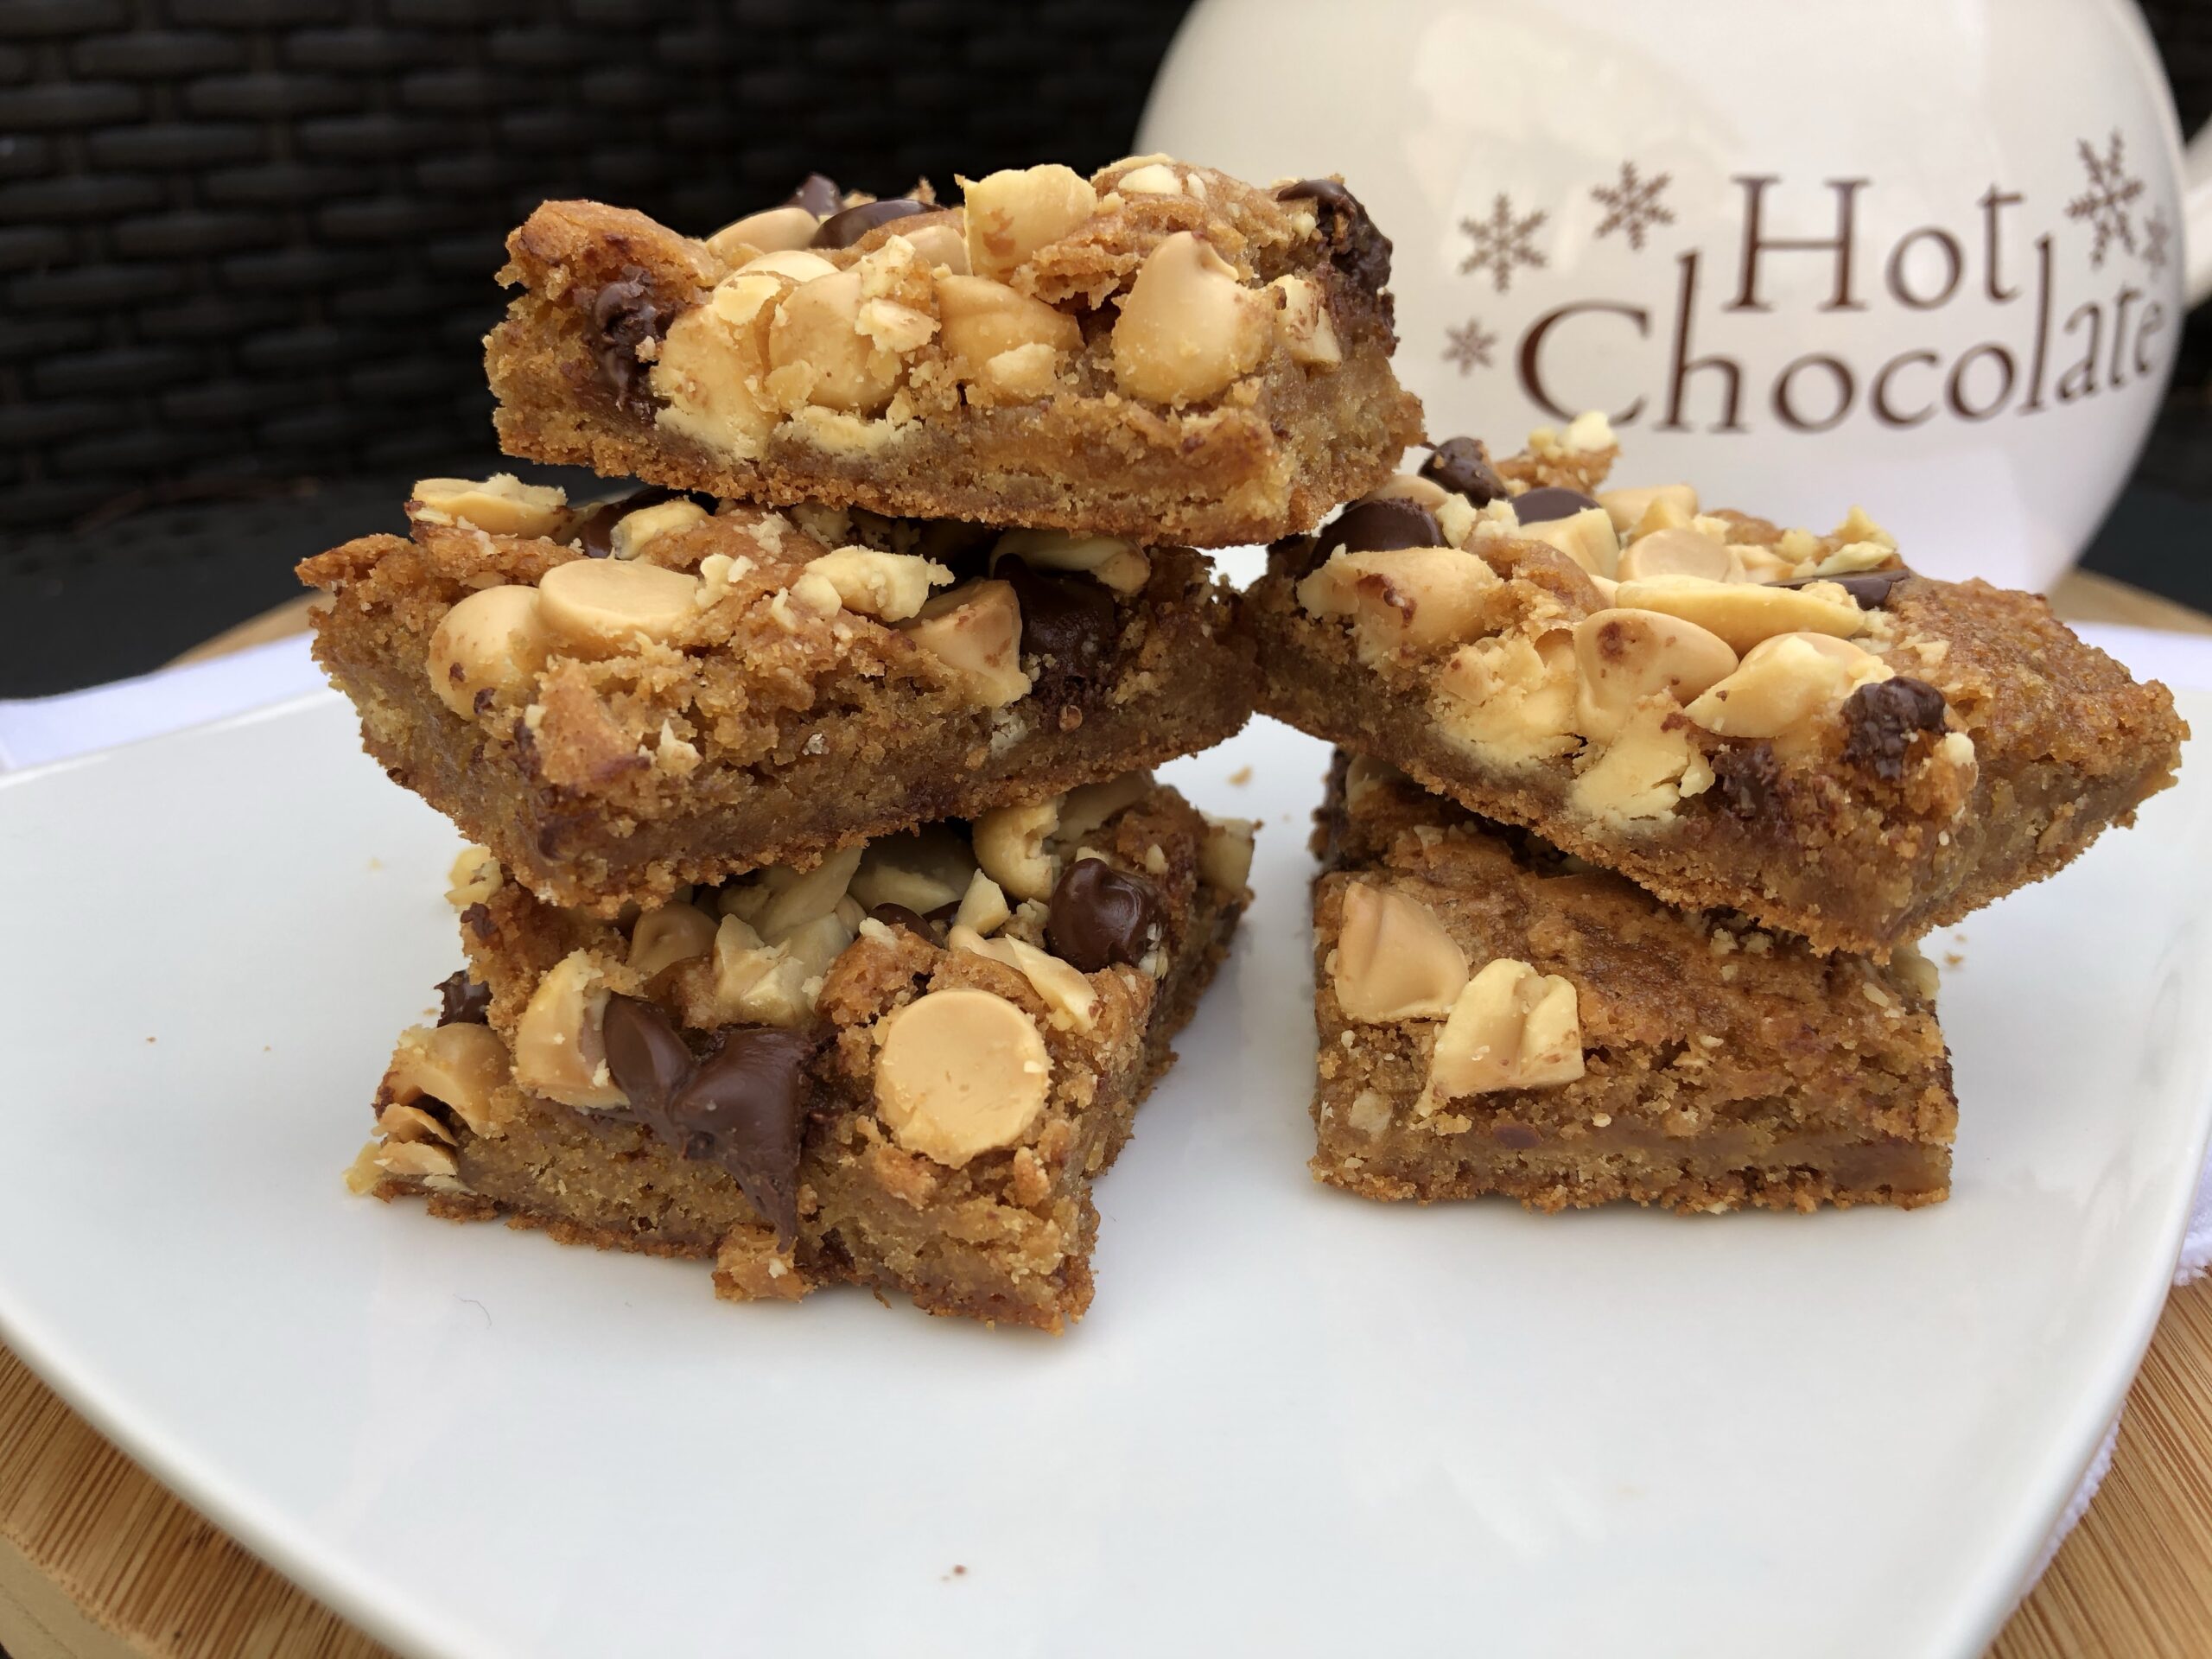
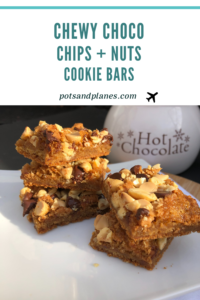
Chewy Choco Chips + Nuts Cookie Bars
Here’s one that’s an oldie but a goodie as they say…
I tore this recipe out of a magazine back in my teenage years, when I first started taking a liking to cooking.
So, it’s been around for a good 35+ years.
Yikes!
My sister and I had a few recipes for cookies and bars that we learned to make on our own, like this one.
I remember baking them often because they were pretty easy for a newbie baker with not a lot of kitchen skills or fancy tools.
The bars were not very pretty, often with overcooked edges and definitely not picture worthy.
But they were chocolatey, chewy, gooey and delicious and that’s all that mattered.
To be honest I hadn’t baked a batch of these bars in many years, until recently. The page was buried deep in my stack of cookie recipes and, sadly, forgotten.
Now that it has resurfaced and been “rediscovered” I’ve given it a bit of an update.
We really like using white chocolate chips around here so I added that to the mix, and I substituted the walnuts with salted peanuts.
I think I will be baking up a batch of these more often, once again.
They make a great afternoon snack for both kids and adults.
Go ahead, treat yourself!
Chewy Choco Chips + Nuts Cookie Bars
Chewy Choco Chips + Nuts Cookie Bars
Ingredients
- 1/2 cup margarine
- 2 cups brown sugar packed
- 1 tsp pure vanilla extract
- 2 eggs
- 1 1/2 cups flour
- 2 tsp baking powder
- 1 tsp salt
- 1/2 cup semi sweet chocolate chips
- 1/2 cup white chocolate chips
- 1/2 cup chopped salted peanuts
Instructions
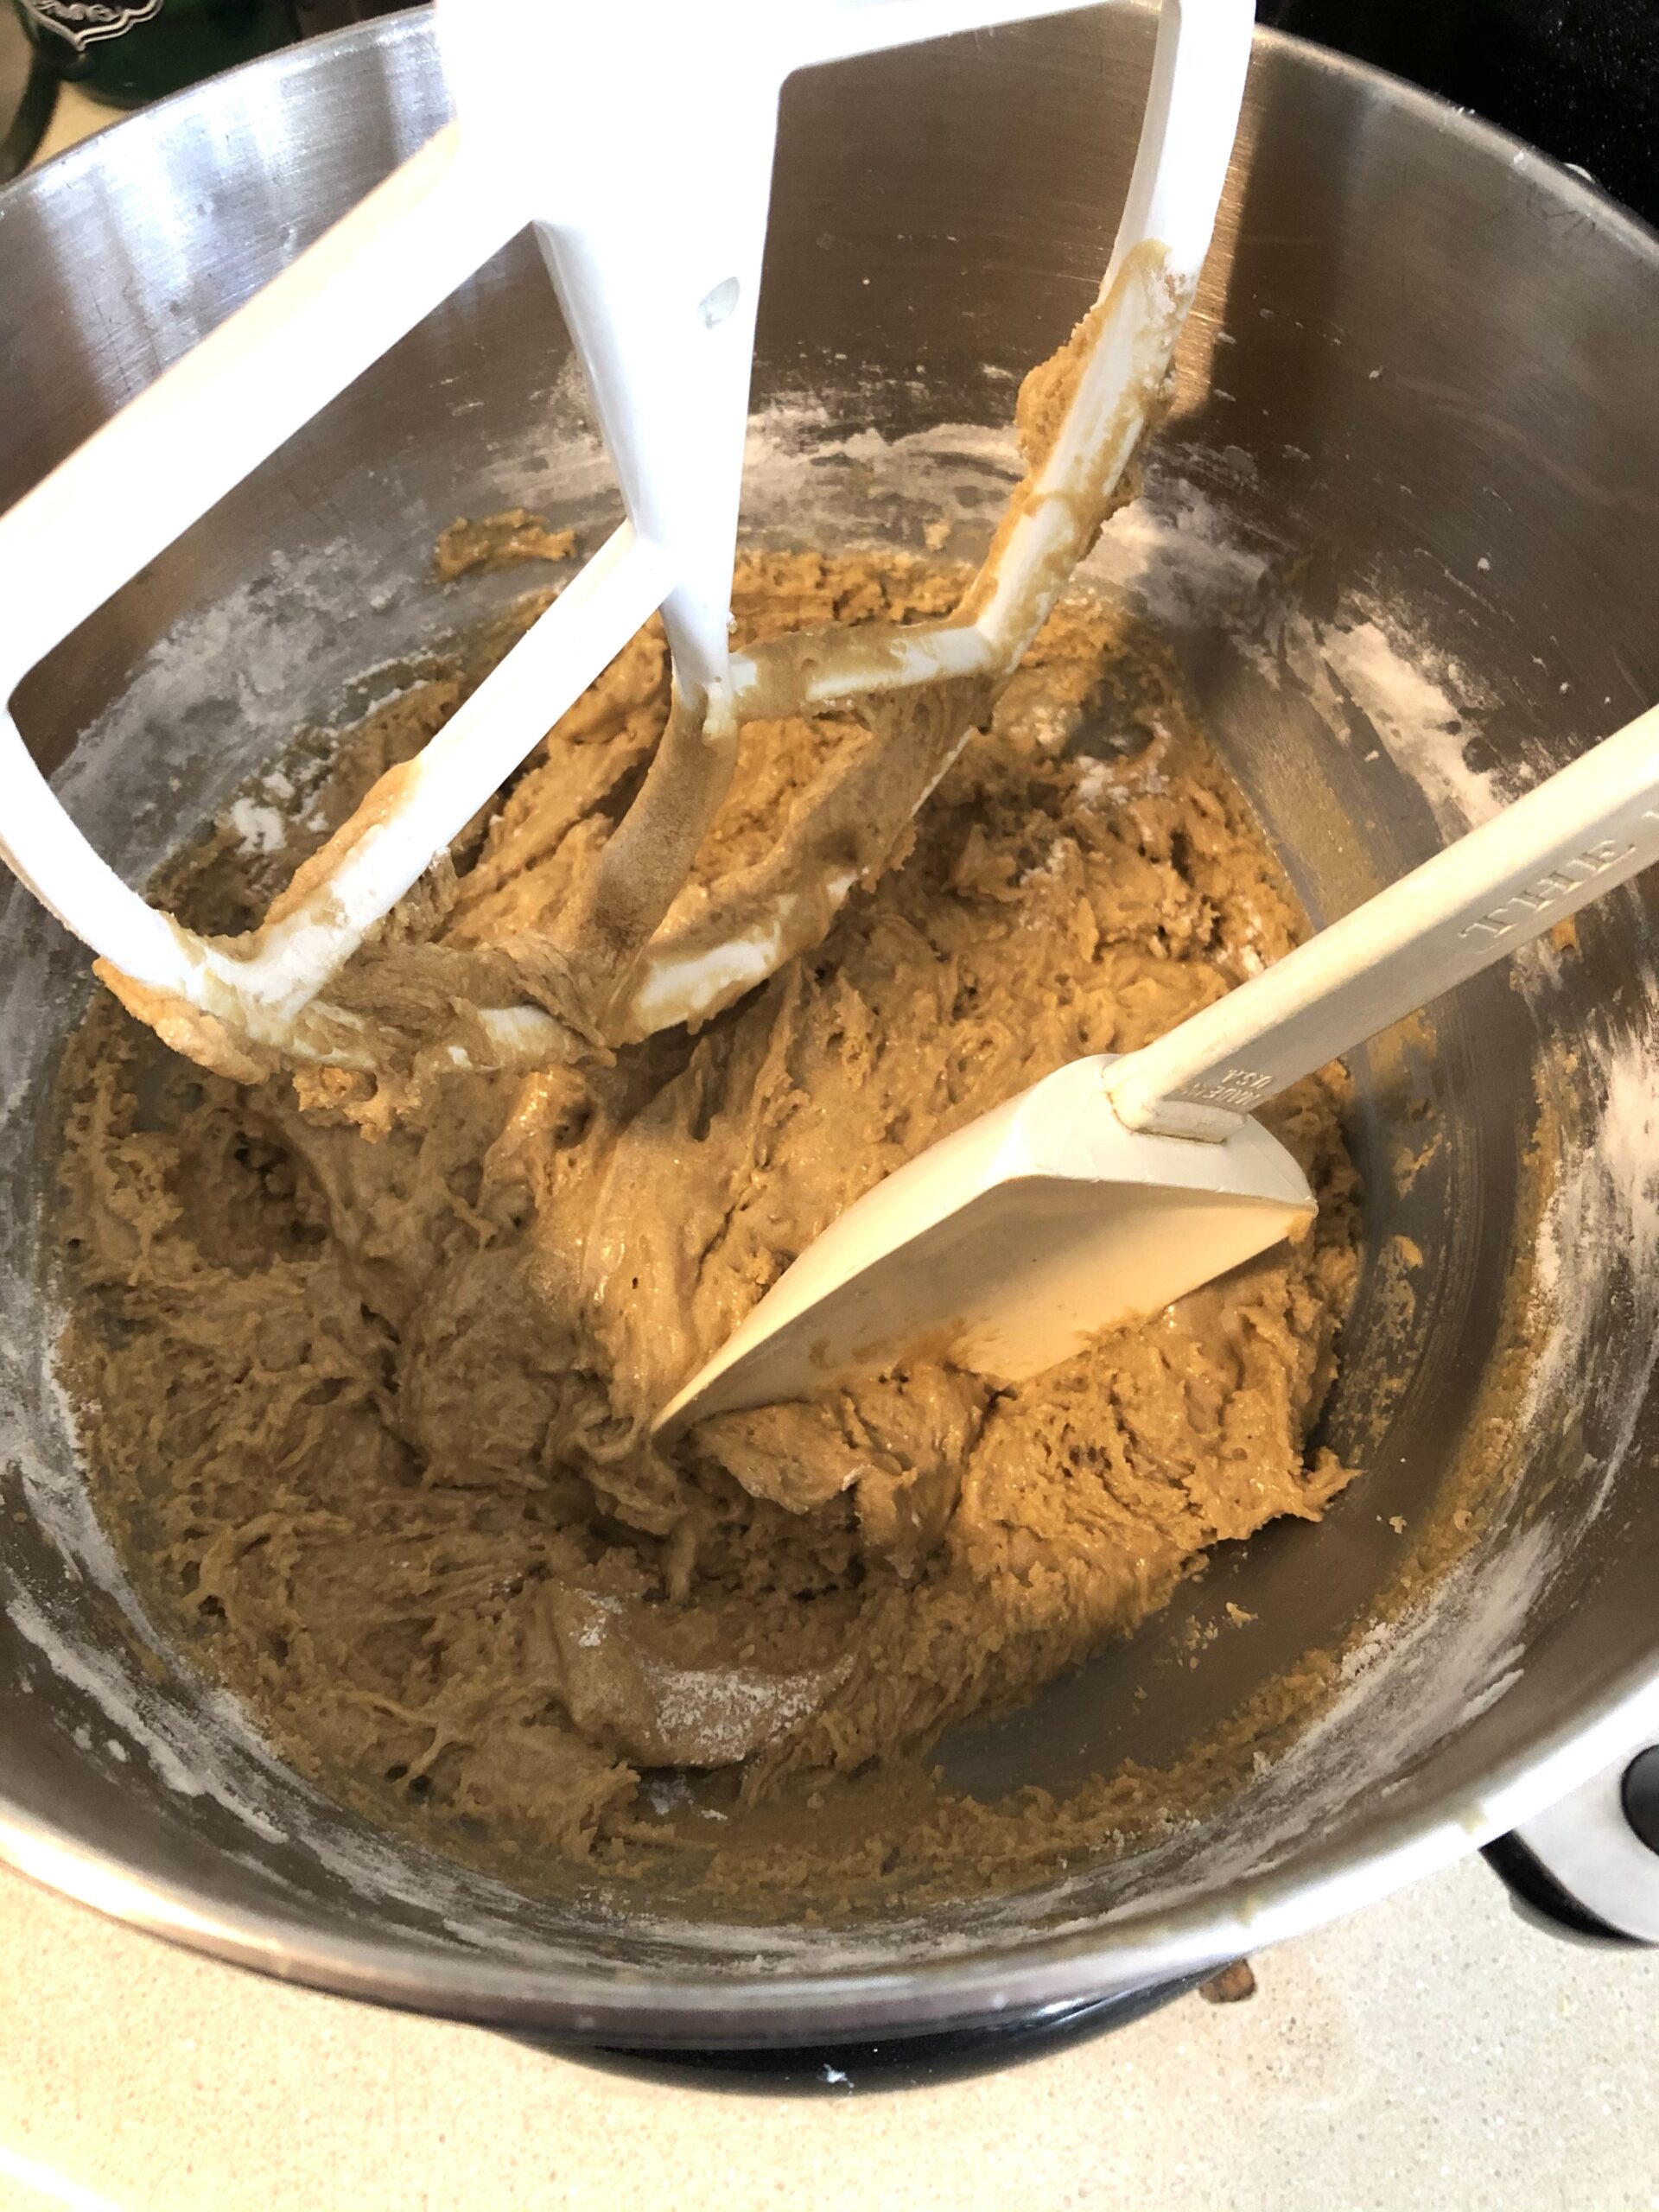
- Add margarine, sugar and vanilla extract to a mixer bowl and mix on medium until well combined.
- Beat in in eggs, one at a time until well blended.
- In a separate medium bowl whisk together flour, baking powder and salt.Add the flour mixture to the mixer bowl and mix on low until well combined.
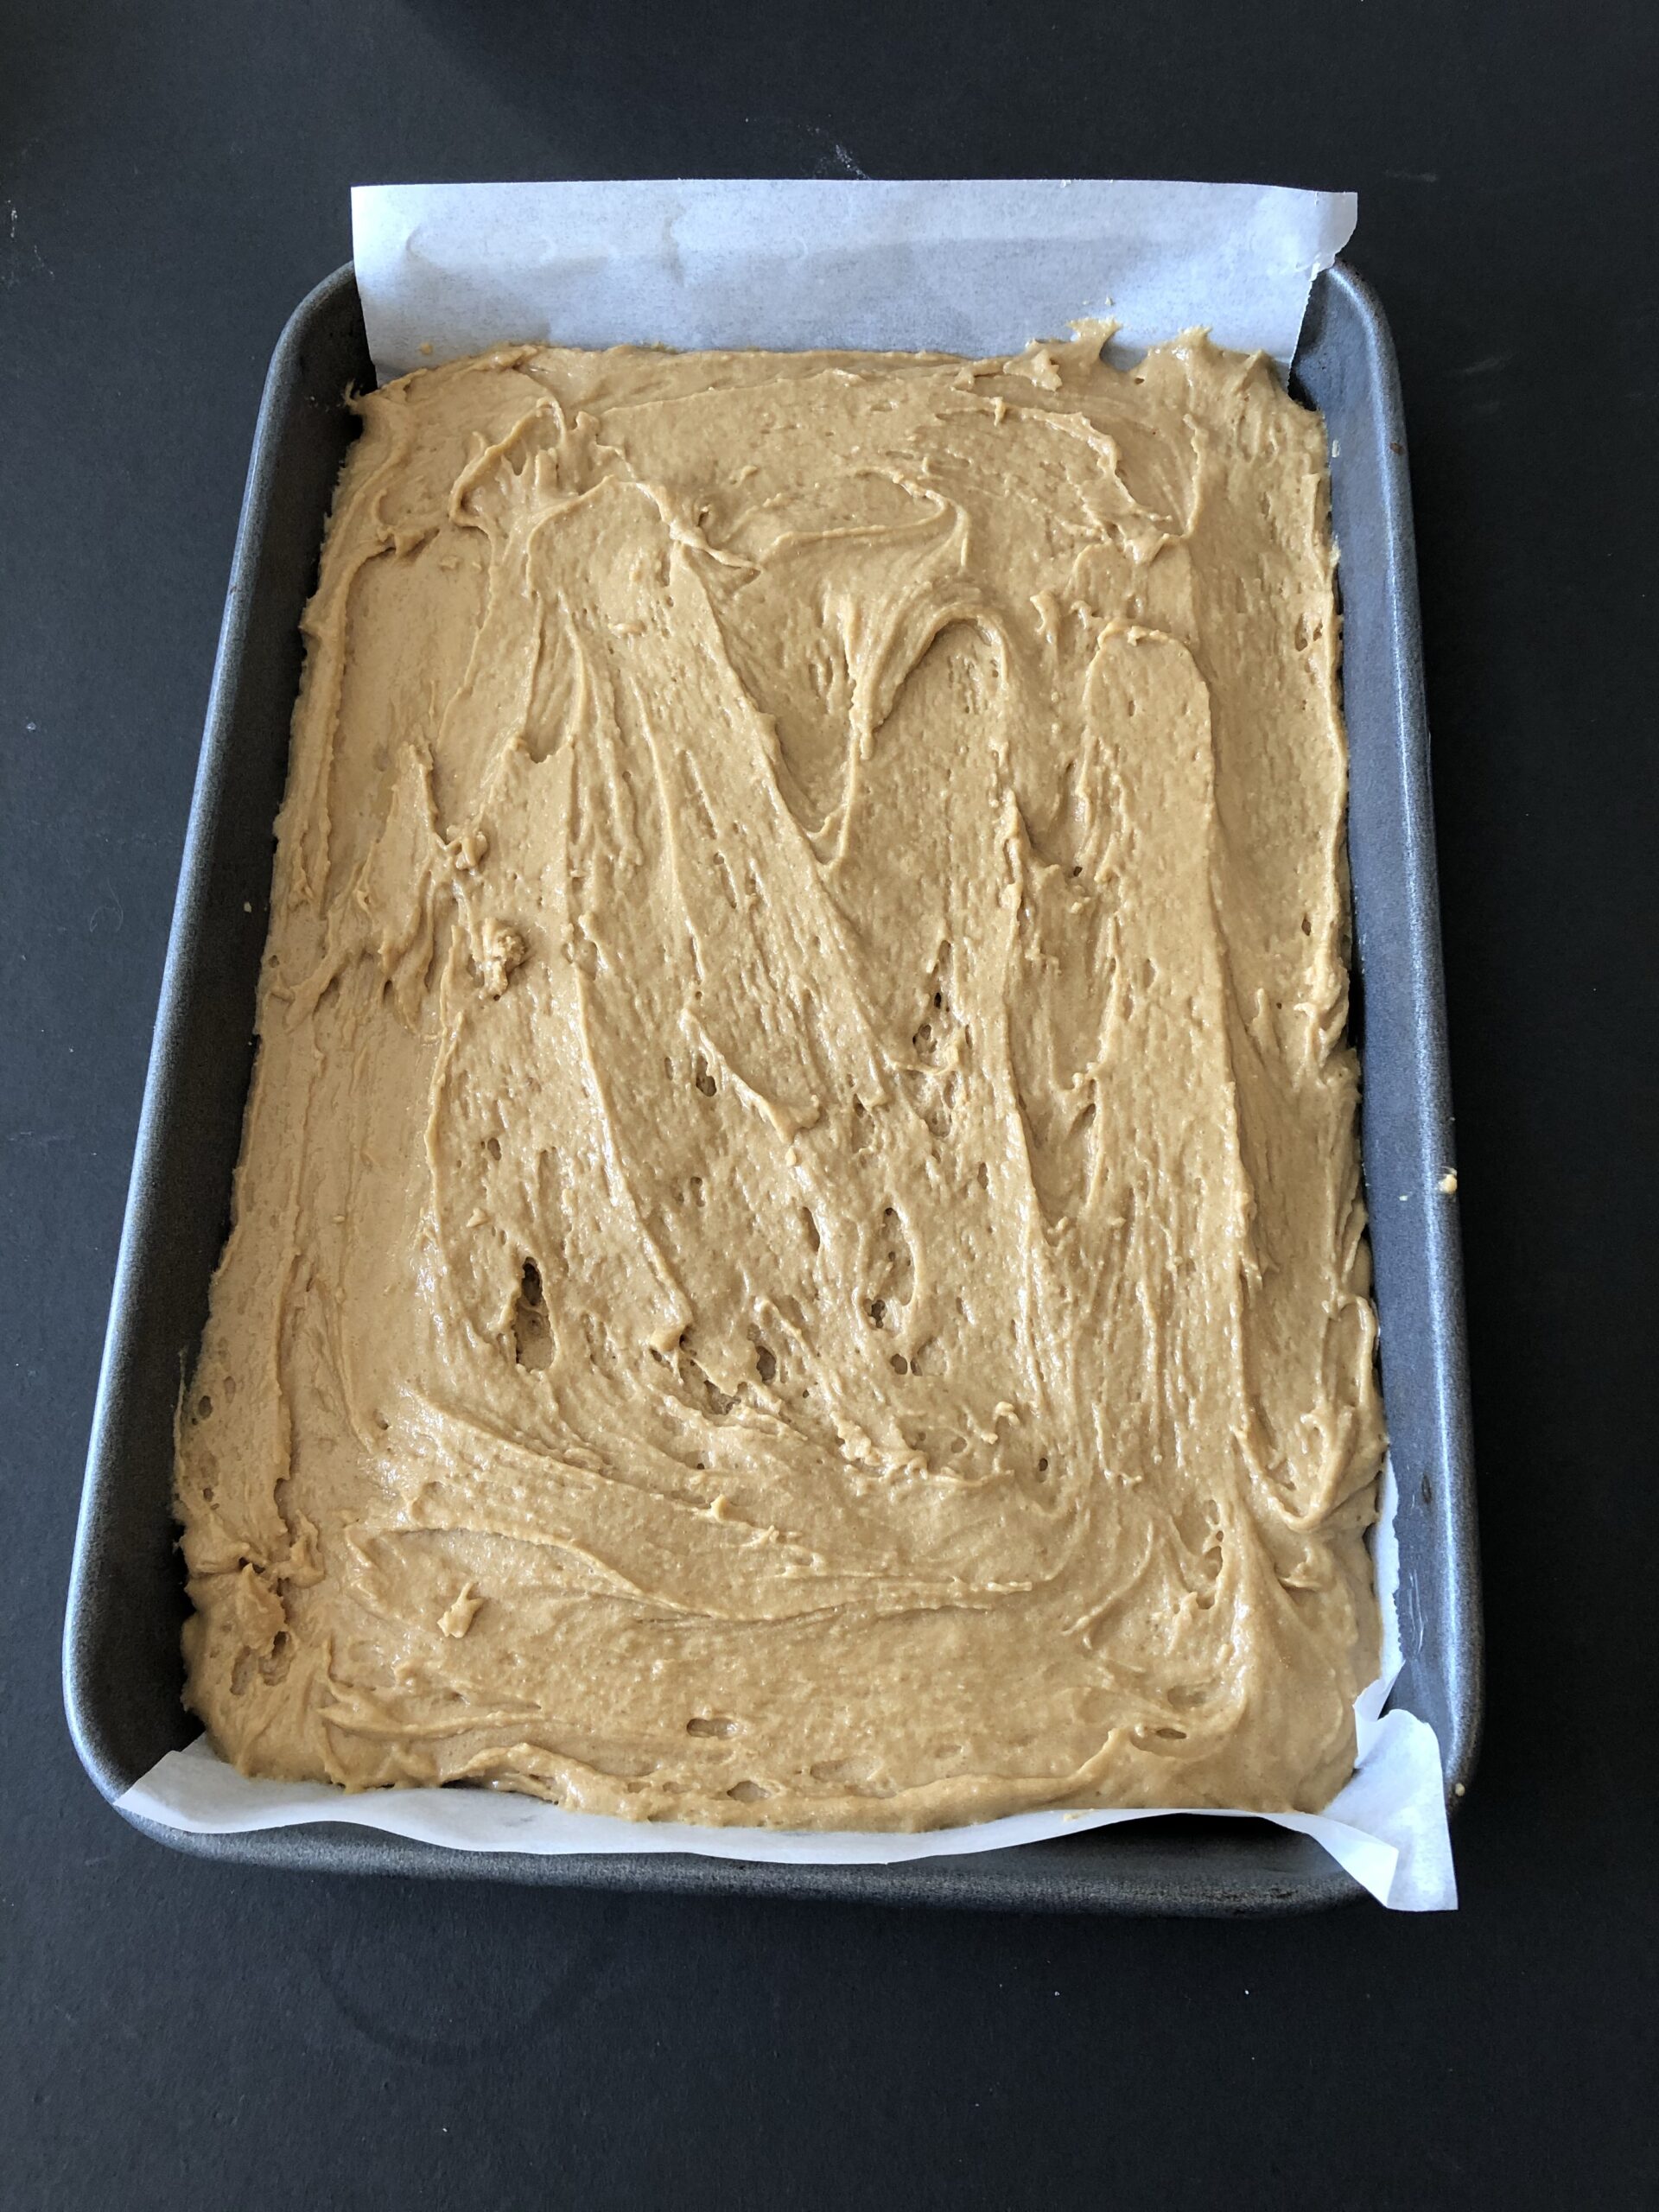
- Pour batter into a greased + parchment lined 9x13x2 baking pan and spread out evenly. Top with chocolate chips and nuts.
- Bake for 30-35 min for dark coated pans or 35-40 min for regular or glass pans.Remove and let cool completely.Transfer to a cutting board and cut into squares/bars.(If you're giving these as gifts or using on a cookie tray for guests, I suggest cutting away the crispier edge around the outside then cutting into squares/bars then promptly eating all removed crispy edges to hide the evidence! haha)
- Store in well sealed container or freeze until needed.
![]()
![]()

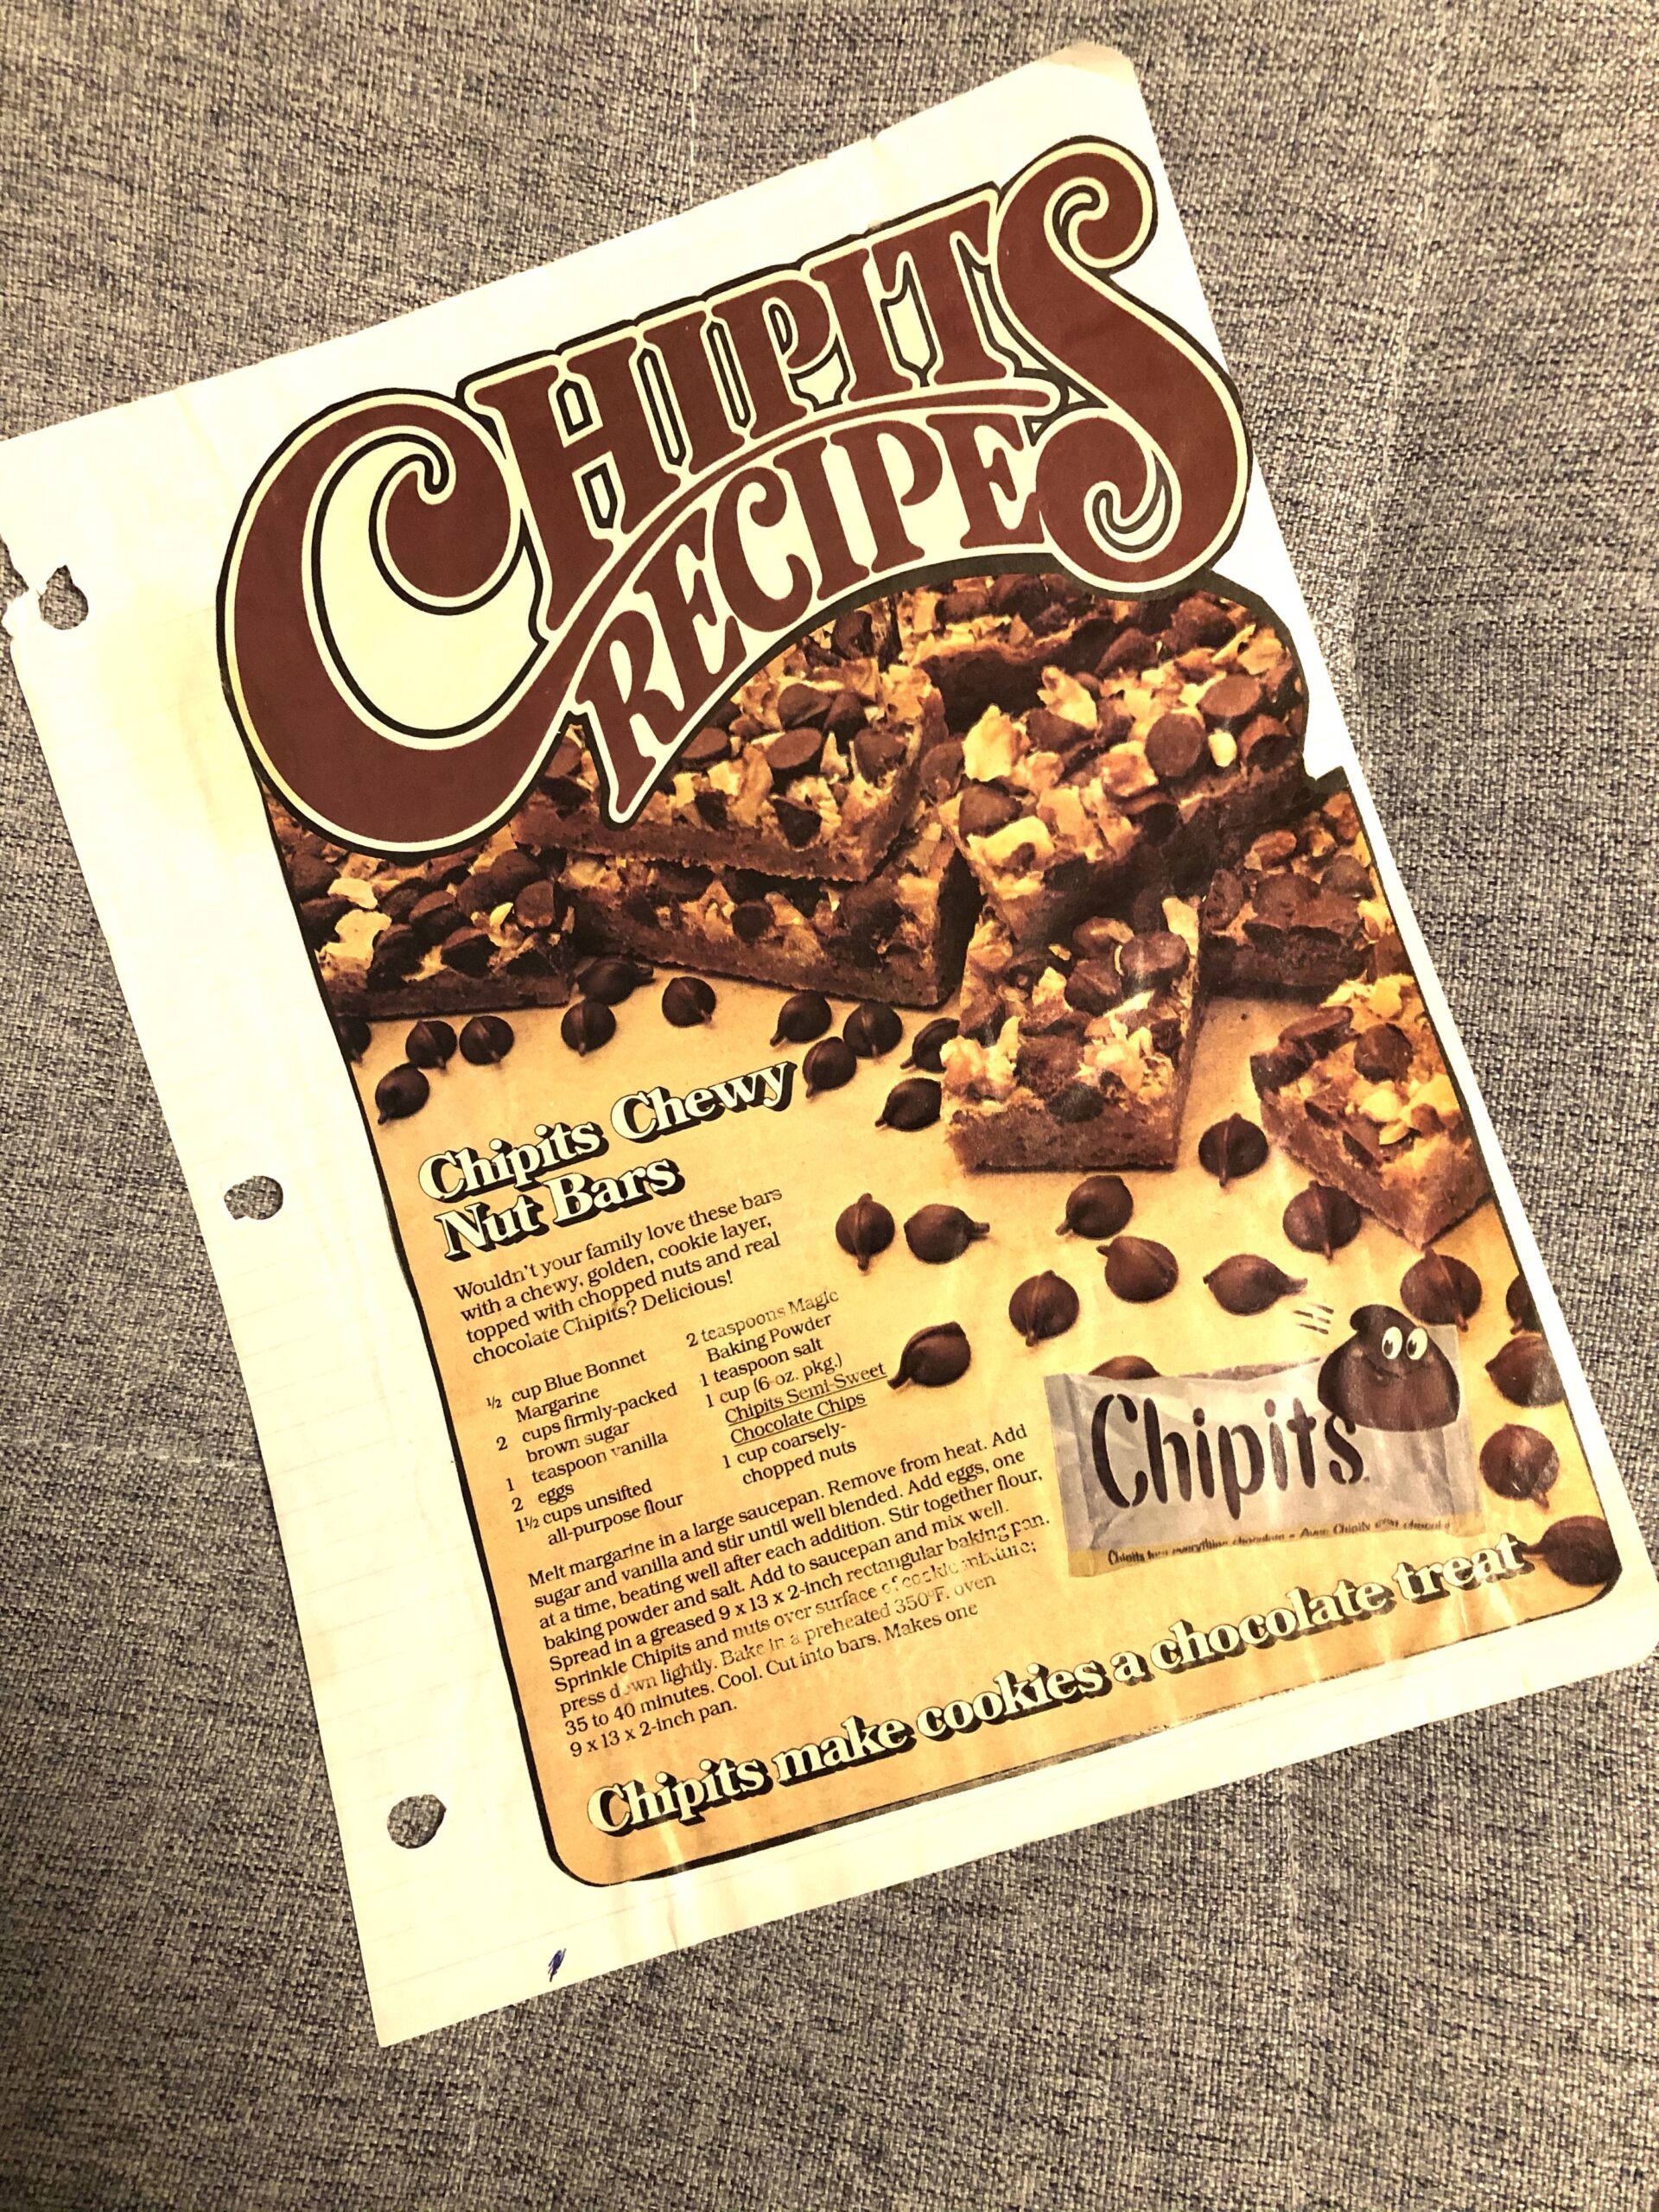
Now take a look at this keeper….
It’s the original magazine recipe that I saved many many moons ago.
Give both versions a try and let me know which one you prefer, both are delish!
PIN AND SAVE FOR LATER
![]()
Some of the links you see on POTS + PLANES are affiliate links. This means that if you purchase a product after clicking an affiliate link, I might receive a small percentage of the sale for referring you, at zero cost to you!
,center>


8 Comments
Dee | Grammy's Grid
YUM, looks good! Thanks so much for linking up with me at my party #AThemedLinkup 35 for Christmas Recipes, open until December 7 at 12:05 am. Shared on social media.
Marielle
Looks yummy! Thanks for sharing. Pinned for later!
Helen at the Lazy Gastronome
These looks moist and delicious! Thanks for sharing at the What’s for Dinner party! Have a wonderful weekend and hope to see you this Sunday at the party.
Dawn
Wow these sound delicious, I’ve such a sweet tooth you wouldn’t believe it, will have to try them sometime, do you know if they freeze? Anything sweet has to be frozen in this house so I can’t eat it all at once lol
Mary
Funny you are asking about freezing as I have put a few in a tupperware in freezer with this last batch, to test just that. Will update next week when i pull them out and taste test.
Pingback:
Terry Crylen
I can feel the weight gain already just looking at it. Yum!
Laurie
These look so indulgent! Gooey is good.
I love childhood memories of good food. Some of the best memories from my childhood involve something my mom baked. 🙂
Thanks for sharing this recipe at the Homestead Blog Hop
Laurie
Ridge Haven Homestead